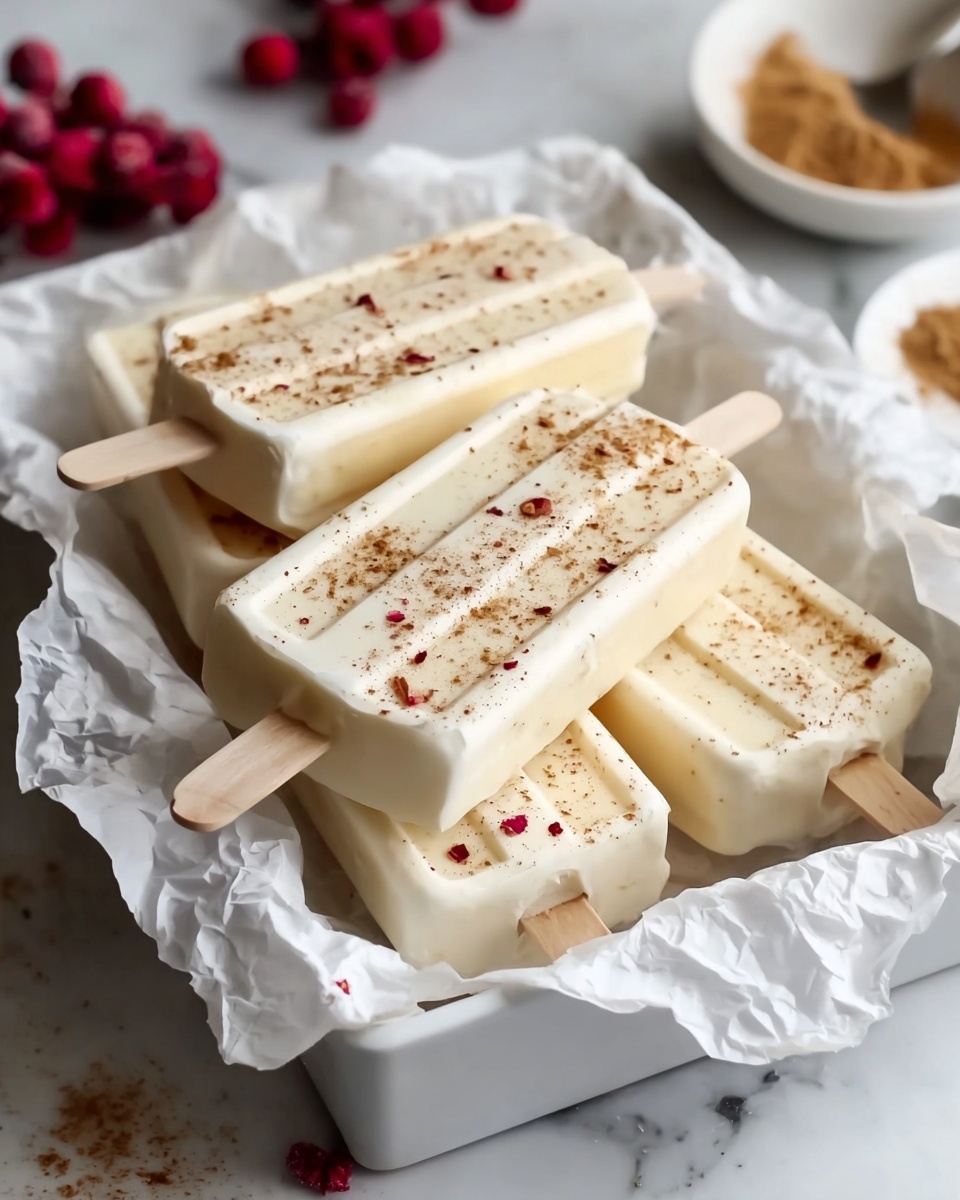
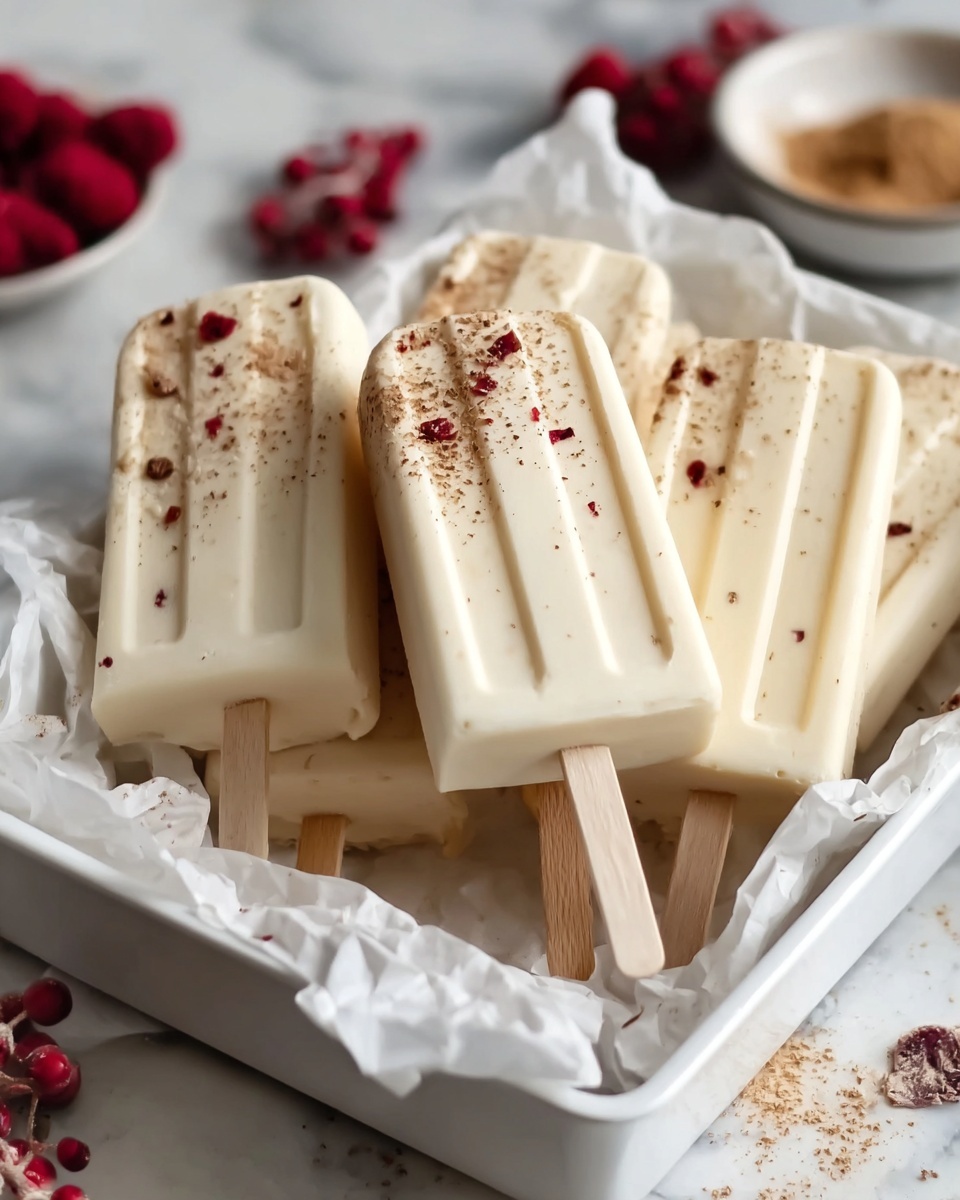
If you’re craving a sweet escape that’s both rich and refreshingly tropical, look no further than this Creamy Coconut Ice Cream Bars Recipe. It’s an absolute dream of a dessert, blending the lusciousness of coconut cream with the smooth, velvety texture of homemade ice cream bars. These bars are delightfully creamy without being heavy, offering a perfect balance of sweetness and coconut flavor that will make you want to savor every bite. Whether it’s a sunny afternoon or a cozy night in, this recipe is guaranteed to bring a smile to your face and cool down your day in the tastiest way possible.
Ingredients You’ll Need
The magic behind this Creamy Coconut Ice Cream Bars Recipe lies in its simplicity. Each ingredient is thoughtfully chosen not just for flavor, but also to create that dreamy, silky texture and rich coconut aroma that make these bars so irresistible. From creamy coconut milk to just the right touch of sweetness, every component plays a key role.
- Milk powder: Adds creaminess and body to the ice cream base for a smooth texture.
- Sugar: Balances the natural richness with the perfect amount of sweetness.
- Condensed milk: Intensifies sweetness and helps keep the bars soft and creamy after freezing.
- Coconut cream (or whipping cream): The star ingredient that delivers that lush, silky coconut flavor.
- Coconut milk (or regular milk): Adds liquid balance and coconutty depth while keeping it light.
- Cornstarch: Thickens the mixture gently, ensuring a firm yet creamy consistency.
- Food flavoring (optional): Vanilla or fruit essences can personalize your bars for a unique twist.
How to Make Creamy Coconut Ice Cream Bars Recipe
Step 1: Combine Ingredients
Begin by gathering your coconut cream, coconut milk, milk powder, sugar, and condensed milk into a medium-sized pot. Stir these together until the blend is smooth and uniform. This base is where all the creamy magic starts to happen.
Step 2: Cook the Mixture
Place the pot on low heat and gently warm the mixture. Stir constantly to prevent any burning or lumps from forming. This slow heating helps the powders dissolve thoroughly, setting the foundation for silky smooth bars later on.
Step 3: Thicken the Base
While the pot remains on low heat, slowly sprinkle in the cornstarch, stirring continually. The mixture will begin to thicken into a custard-like texture. This step is crucial for giving your ice cream bars their creamy yet stable consistency once frozen.
Step 4: Add Flavoring
Once thickened and removed from the heat, stir in your optional food flavoring like vanilla extract or a fruity essence. This final touch elevates the flavor and makes these bars feel truly special and personalized.
Step 5: Fill Molds and Freeze
Pour your creamy coconut mixture evenly into ice cream molds, then insert popsicle sticks. Place them carefully in the freezer for at least 4 hours or until fully set and firm. Patience here pays off with perfectly portioned, delectably creamy bars.
Step 6: Serve and Enjoy
Once frozen solid, pop your ice cream bars out of the molds and get ready to indulge. These creamy coconut ice cream bars are ready to brighten any day with their tropical charm and refreshing texture.
How to Serve Creamy Coconut Ice Cream Bars Recipe
Garnishes
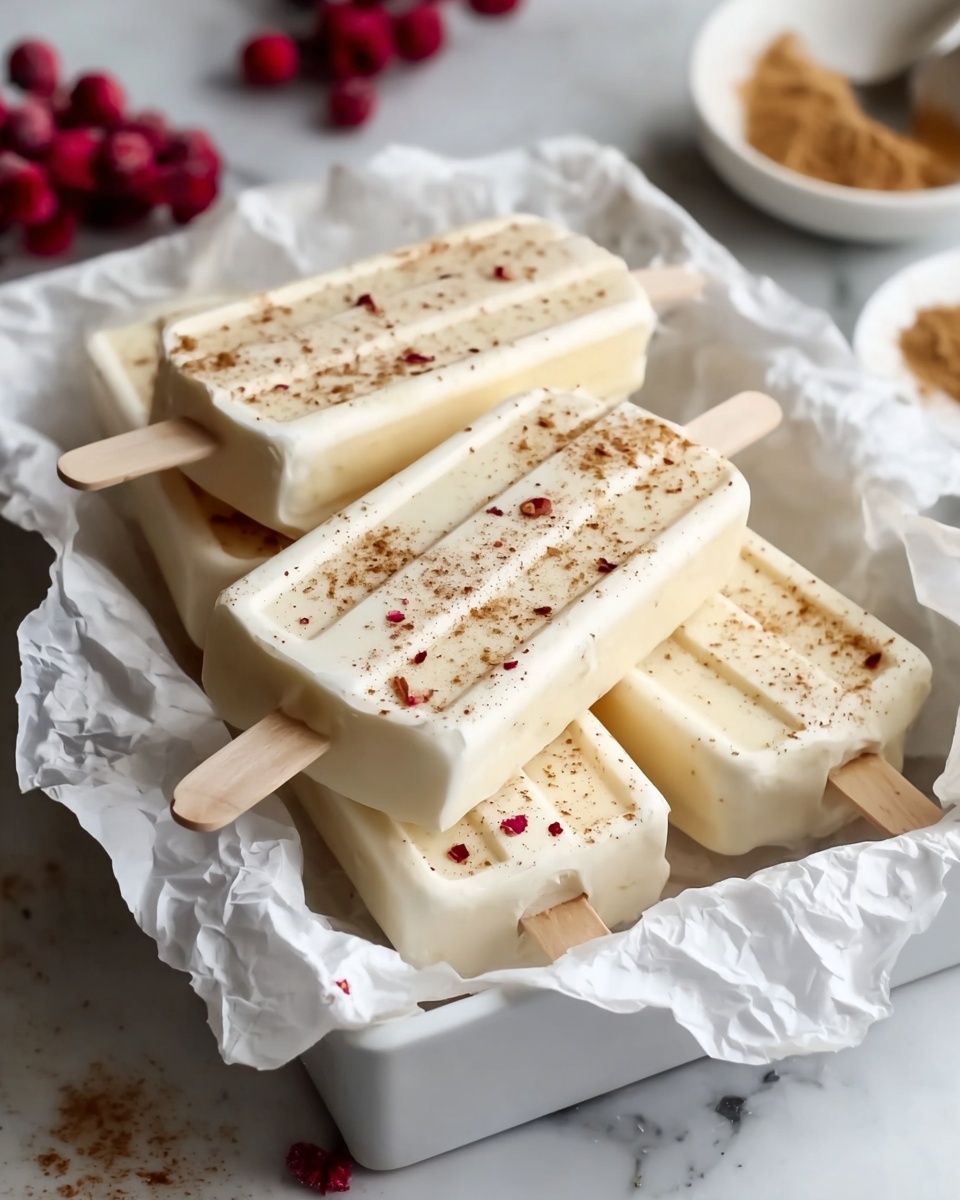
Adding a little something on top can take these ice cream bars from amazing to unforgettable. Try a sprinkle of toasted shredded coconut for extra crunch, a drizzle of dark chocolate for richness, or fresh tropical fruit slices for vibrant color and contrast.
Side Dishes
Pairing your creamy coconut ice cream bars with fresh mango salsa or a crunchy nut brittle can add a delightful textural contrast that complements the smooth bars perfectly. Even a simple bowl of tropical fruit salad makes an excellent companion.
Creative Ways to Present
You can serve these bars on pretty dessert plates with edible flowers for a festive touch or stick them into small glasses filled with shaved ice to resemble mini coconut snow cones. Sharing these with friends or family always invites smiles and “wow” moments.
Make Ahead and Storage
Storing Leftovers
If you have any bars left, wrap each individually in parchment paper or plastic wrap, then place them in an airtight container. This helps prevent ice crystals and keeps their creamy texture intact for up to a week.
Freezing
You can prepare the bars ahead of time and freeze them for up to a month. Make sure to store them well-wrapped as mentioned to avoid freezer burn and maintain their delicious flavor and creaminess.
Reheating
These bars are best enjoyed frozen and don’t require reheating. If they get too hard, let them sit at room temperature for 5 to 10 minutes to soften just enough for the most enjoyable creamy bite.
FAQs
Can I use regular milk instead of coconut milk?
Absolutely! Using regular milk will still give you a creamy texture but the coconut flavor will be milder. To keep that tropical vibe, consider adding a bit more coconut cream or extract.
Is there a way to make these bars vegan?
Yes! Substitute the condensed milk with a vegan condensed milk alternative and use coconut cream and coconut milk. Ensure your sugar is vegan-friendly, too. This way, you can enjoy the Creamy Coconut Ice Cream Bars Recipe while keeping it plant-based.
What if I don’t have ice cream molds?
No worries! You can use small paper cups or silicone muffin cups and wooden sticks. Just freeze long enough for the mixture to set completely before serving.
Can I add chunks of fruit or nuts?
Definitely! Small pieces of mango, pineapple, or toasted nuts make excellent mix-ins that add bursts of flavor and texture to your creamy ice cream bars.
How long should the ice cream bars be frozen before eating?
At least 4 hours is ideal, but overnight freezing ensures they’re completely firm and have the perfect consistency to hold their shape when enjoyed.
Final Thoughts
There’s something truly special about making your own frozen treats, especially when they taste as dreamy and refreshing as this Creamy Coconut Ice Cream Bars Recipe. It’s the kind of recipe you’ll come back to again and again, not just for its tropical flavor but for the comfort and joy it brings every time you take a bite. So grab your ingredients, have fun crafting these creamy delights, and get ready to share a little sunshine on a stick with the ones you love.
Print
Creamy Coconut Ice Cream Bars Recipe
- Prep Time: 10 minutes
- Cook Time: 10 minutes
- Total Time: 4 hours 20 minutes
- Yield: 4 servings
- Category: Dessert
- Method: Stovetop
- Cuisine: International
- Diet: Vegetarian
Description
These creamy ice cream bars are a delightful homemade treat made with a smooth blend of coconut cream, milk powder, and a touch of condensed milk. The mixture is gently cooked and thickened with cornstarch, then flavored with optional essences before being frozen into refreshing bars perfect for any warm day or special occasion.
Ingredients
Ice Cream Base
- 35g milk powder
- 15g sugar
- 10g condensed milk
- 160g coconut cream (or whipping cream)
- 200g coconut milk (or regular milk)
- 10g cornstarch
- 2g food flavoring (optional, e.g., vanilla or fruit essence)
Instructions
- Combine Ingredients: In a medium pot, mix together the coconut cream, coconut milk, milk powder, sugar, and condensed milk until all the ingredients are well blended, creating a smooth mixture.
- Cook Mixture: Place the pot over low heat and gently heat the mixture, stirring constantly to prevent burning or the formation of lumps. This step ensures the base warms evenly without scorching.
- Thicken: Gradually sprinkle in the cornstarch while continuously stirring to evenly incorporate it. Continue stirring until the mixture thickens to a creamy consistency suitable for ice cream bars.
- Flavor: Remove the pot from the heat and stir in your chosen food flavoring, such as vanilla or a fruit essence, to enhance the taste as desired.
- Fill Molds: Pour the thickened mixture into ice cream molds, insert popsicle sticks into each mold, and place them in the freezer.
- Freeze: Allow the filled molds to freeze for at least 4 hours or until the bars are fully set and frozen solid.
- Serve: Carefully remove the ice cream bars from the molds and enjoy your creamy, homemade frozen treat!
Notes
- Substitute coconut cream and milk with dairy alternatives like whipping cream and regular milk if preferred.
- Ensure constant stirring during cooking to prevent lumps and burning.
- Adjust sweetness by varying the amount of sugar or condensed milk.
- Experiment with different food flavorings or essences to customize the ice cream bars.
- Freeze for longer if necessary to ensure bars are fully set before serving.

